⏱ 2 min read
Applying UV gel step by step
Base, builder, base color, top coat: the layer order, curing times, and the techniques for a manicure that lasts.
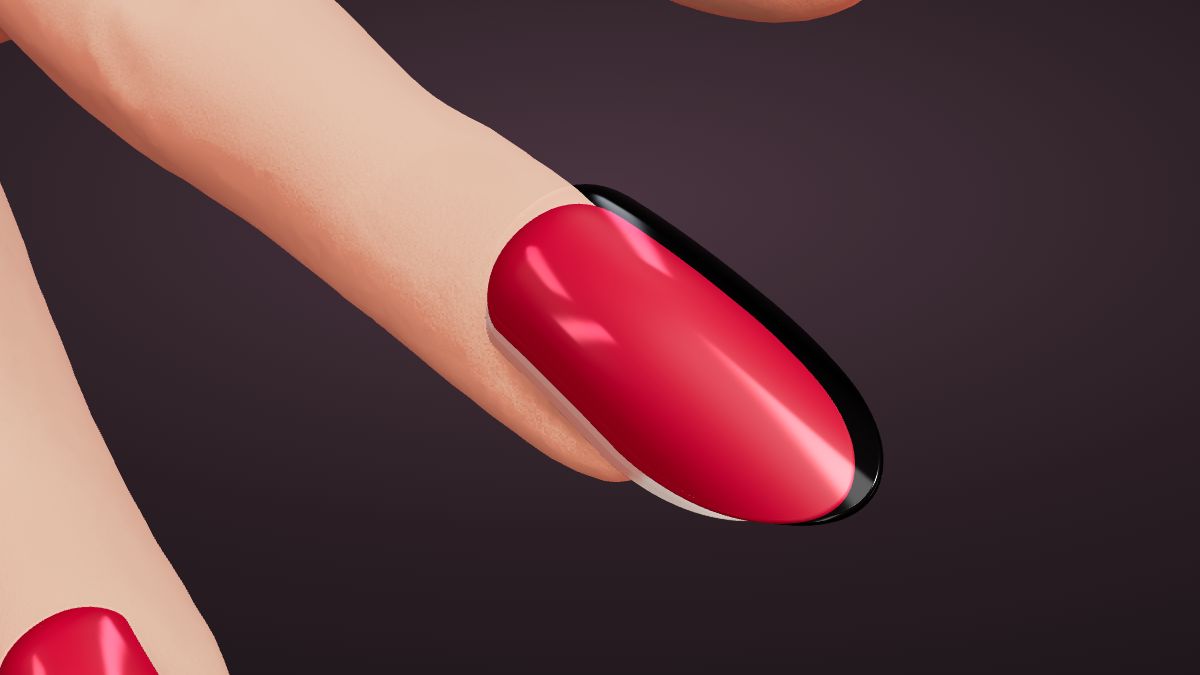
The essentials in 30 seconds
- Here's the classic order, with indicative curing times: always follow the times given by your product's manufacturer, they vary between brands.
- Place a bead in the center, let it spread for a few seconds, then turn your hand upside down briefly so the gel gathers at the highest point, the apex, slightly towards the center of the nail.
- Essential for long shapes (almond, stiletto, ballerina) or fragile nails.
- The secret: two thin coats are better than one thick one.
Contents
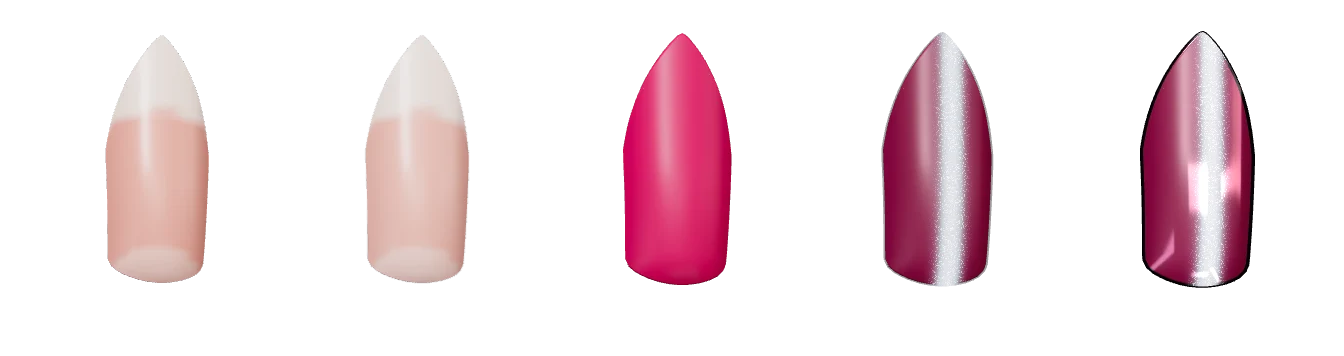
A gel manicure is a stack of thin layers, each hardened (we say “cured”) under an LED UV lamp. Each layer has a specific job. Here's the classic order, with indicative curing times: always follow the times given by your product's manufacturer, they vary between brands.
Before you start, your nails must be prepped: see the prep guide.
1Base coat
A thin layer that bonds the gel to the nail. Apply it very thinly, without touching the skin: gel that spills onto the cuticle will end up lifting.
- Cure: 30 s.
2Builder gel (optional)
A thick gel that strengthens the nail and gives it structure. Place a bead in the center, let it spread for a few seconds, then turn your hand upside down briefly so the gel gathers at the highest point, the apex, slightly towards the center of the nail. That's what absorbs the knocks.
- Essential for long shapes (almond, stiletto, ballerina) or fragile nails.
- Cure: 30 s.
3Base color
This is the color. The secret: two thin coats are better than one thick one. A thick coat cures badly underneath, wrinkles or stays soft. Remember to “cap” the free edge: run the brush along the edge of the nail to seal it, which stops the color chipping at the tip.
- Cure: 30 s, for each coat.
4Effects (optional)
This is where magnetic gels, glitter, jelly or chrome powders go. Each has its own technique: see the guides magnetic gel and cat eye and chrome powder.
5Top coat
It protects all the work and gives the finish:
- Glossy: mirror shine, more intense colors.
- Matte: velvety finish with no shine; it also turns a chrome or magnetic gel into a satin version.
“No wipe” top coats need no wiping. Others leave a thin sticky layer after curing (the inhibition layer), to be removed with a cleanser.
- Cure: 60 s.
Summary
| Step | Role | Cure |
|---|---|---|
| Base coat | Adhesion | 30 s |
| Builder | Structure, strength | 30 s |
| Base color | Color (2 coats) | 30 s / coat |
| Top coat | Protection, finish | 60 s |
Common problems
- Gel wrinkles under the lamp: coat too thick. Apply thinner coats.
- Heat under the lamp: normal with thick gel (curing reaction). Take your hand out for a few seconds, then continue.
- Lifting after a few days: almost always the prep (oil, cuticle, shiny surface) or gel on the skin.
- Color chipping at the tip: free edge not capped.
Practice in 3D
In the studio, each layer appears in the strip at the bottom of the 3D view, in order of application. Tap a layer to see its tips and curing time, then use the “explode” button to spread the layers apart and understand how they stack.
Applying UV gel step by step
Try it in the 3D studio